

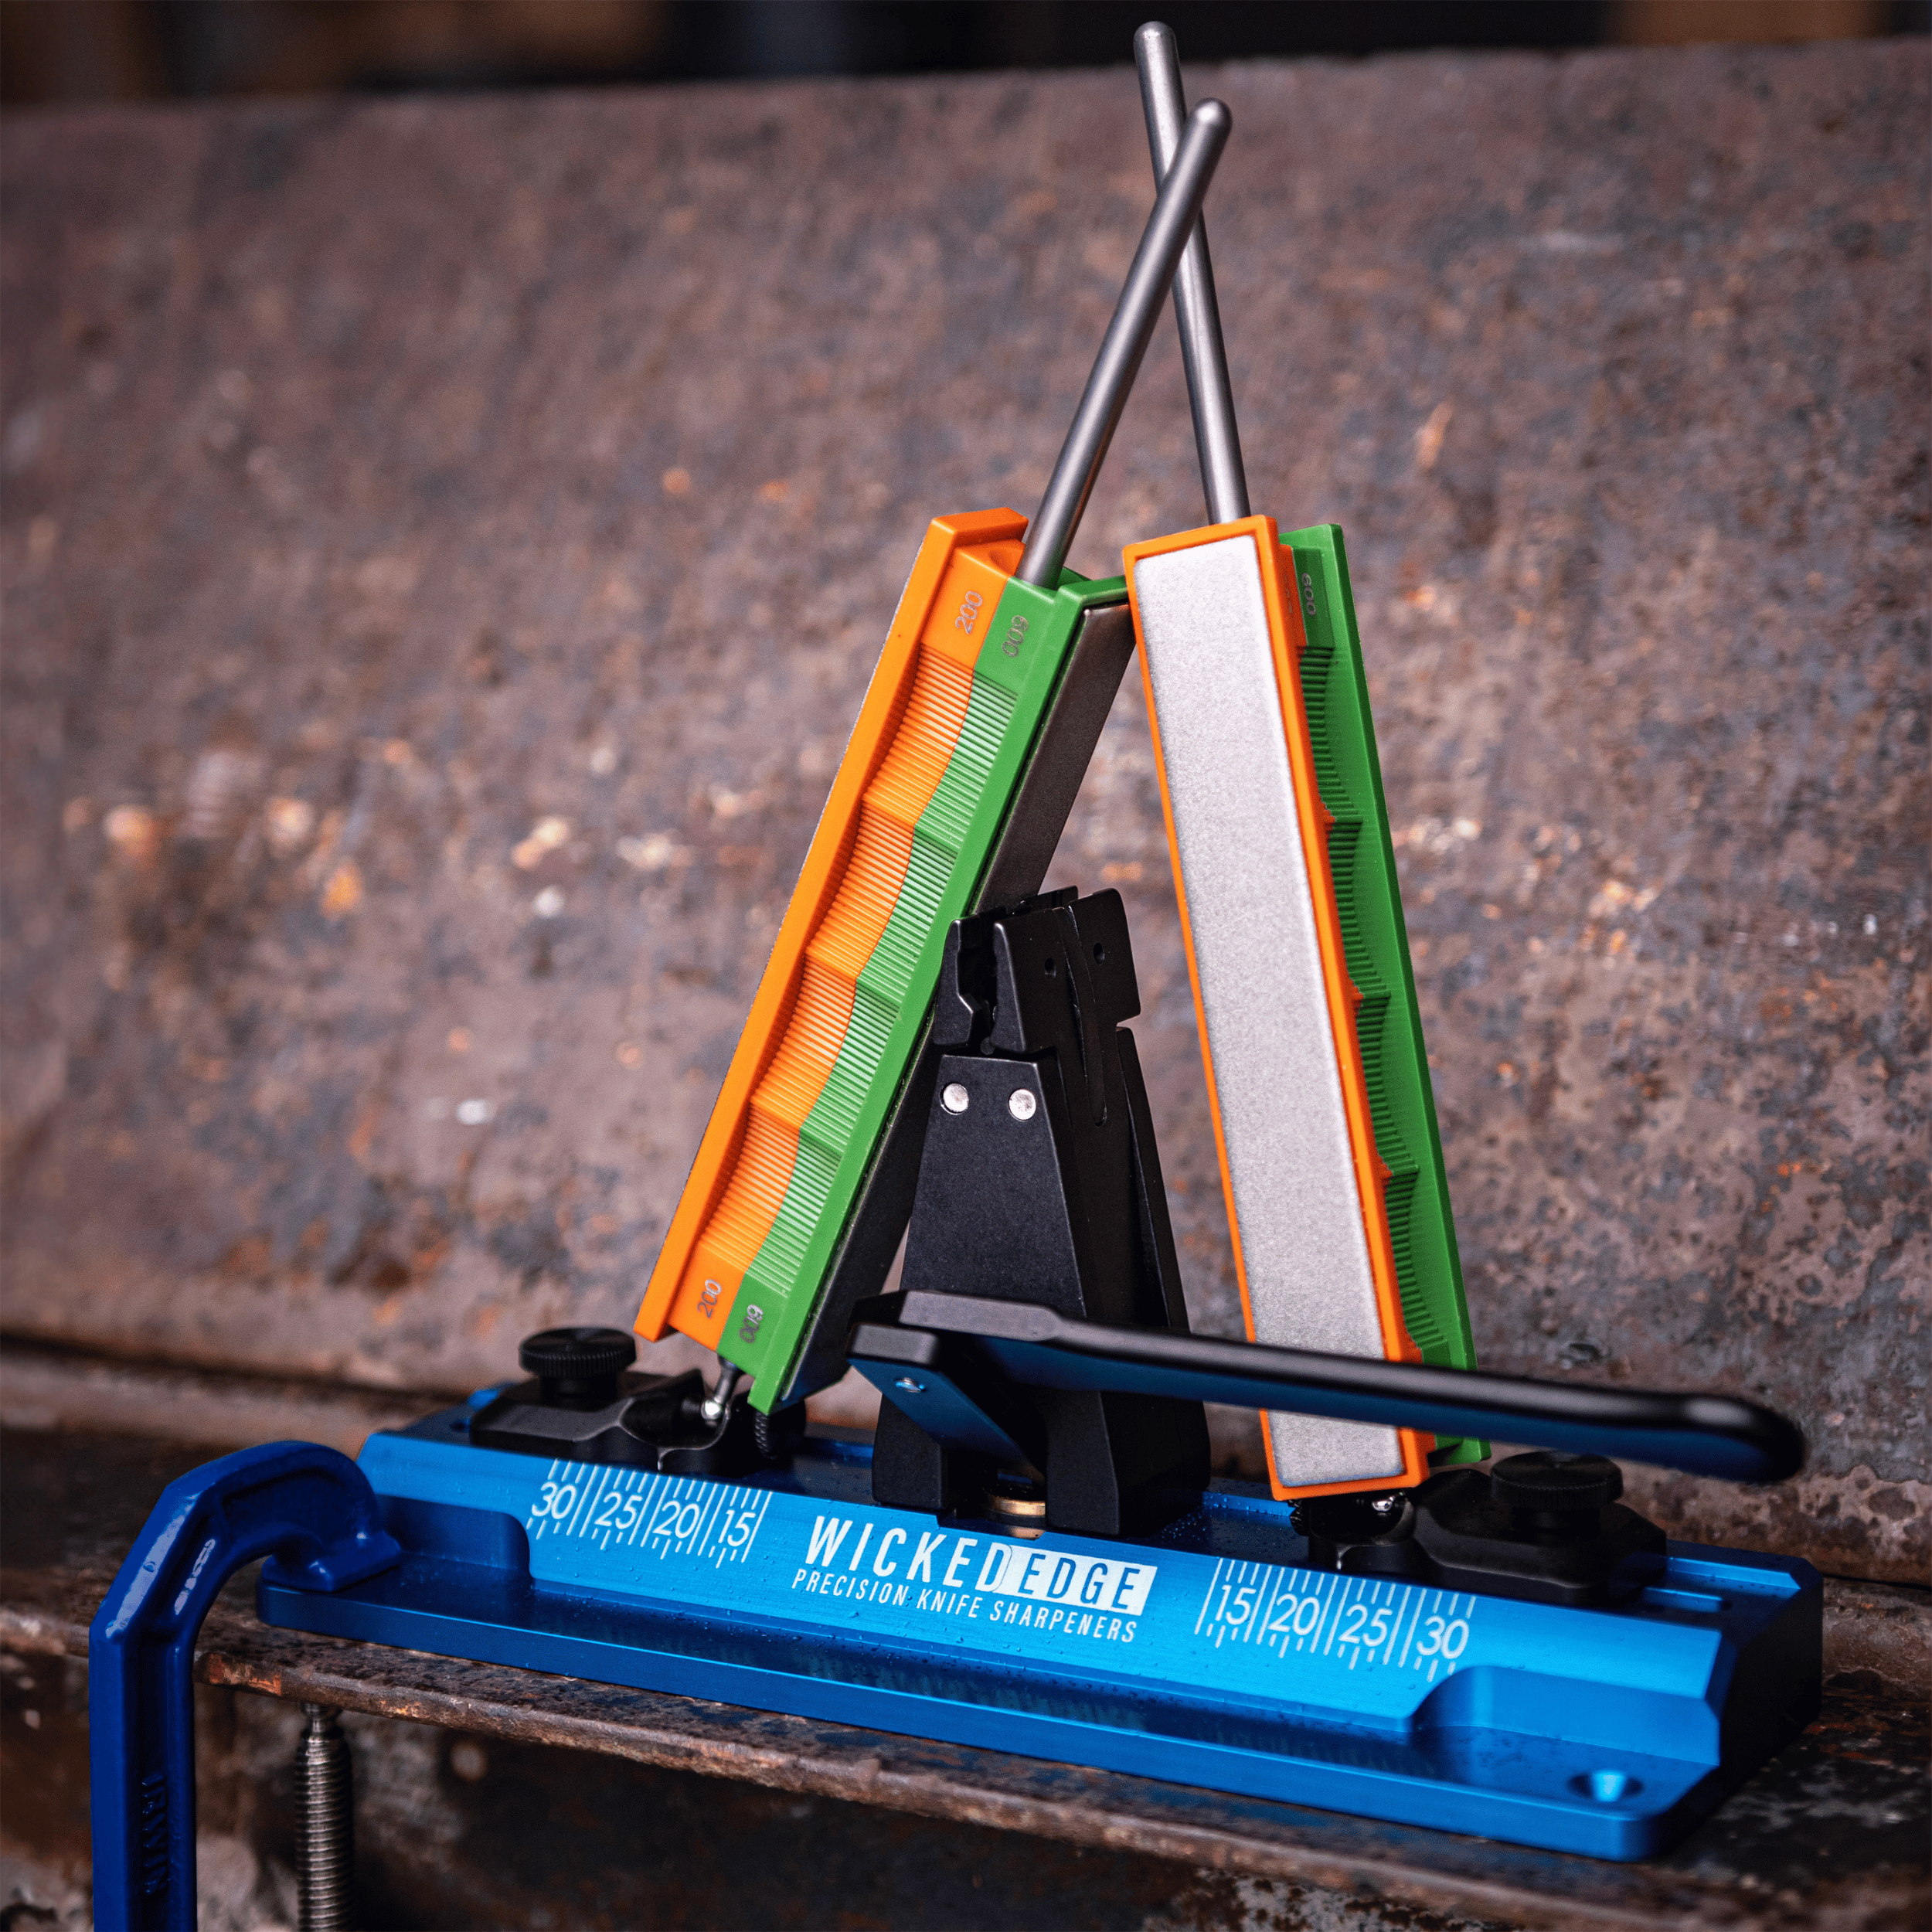
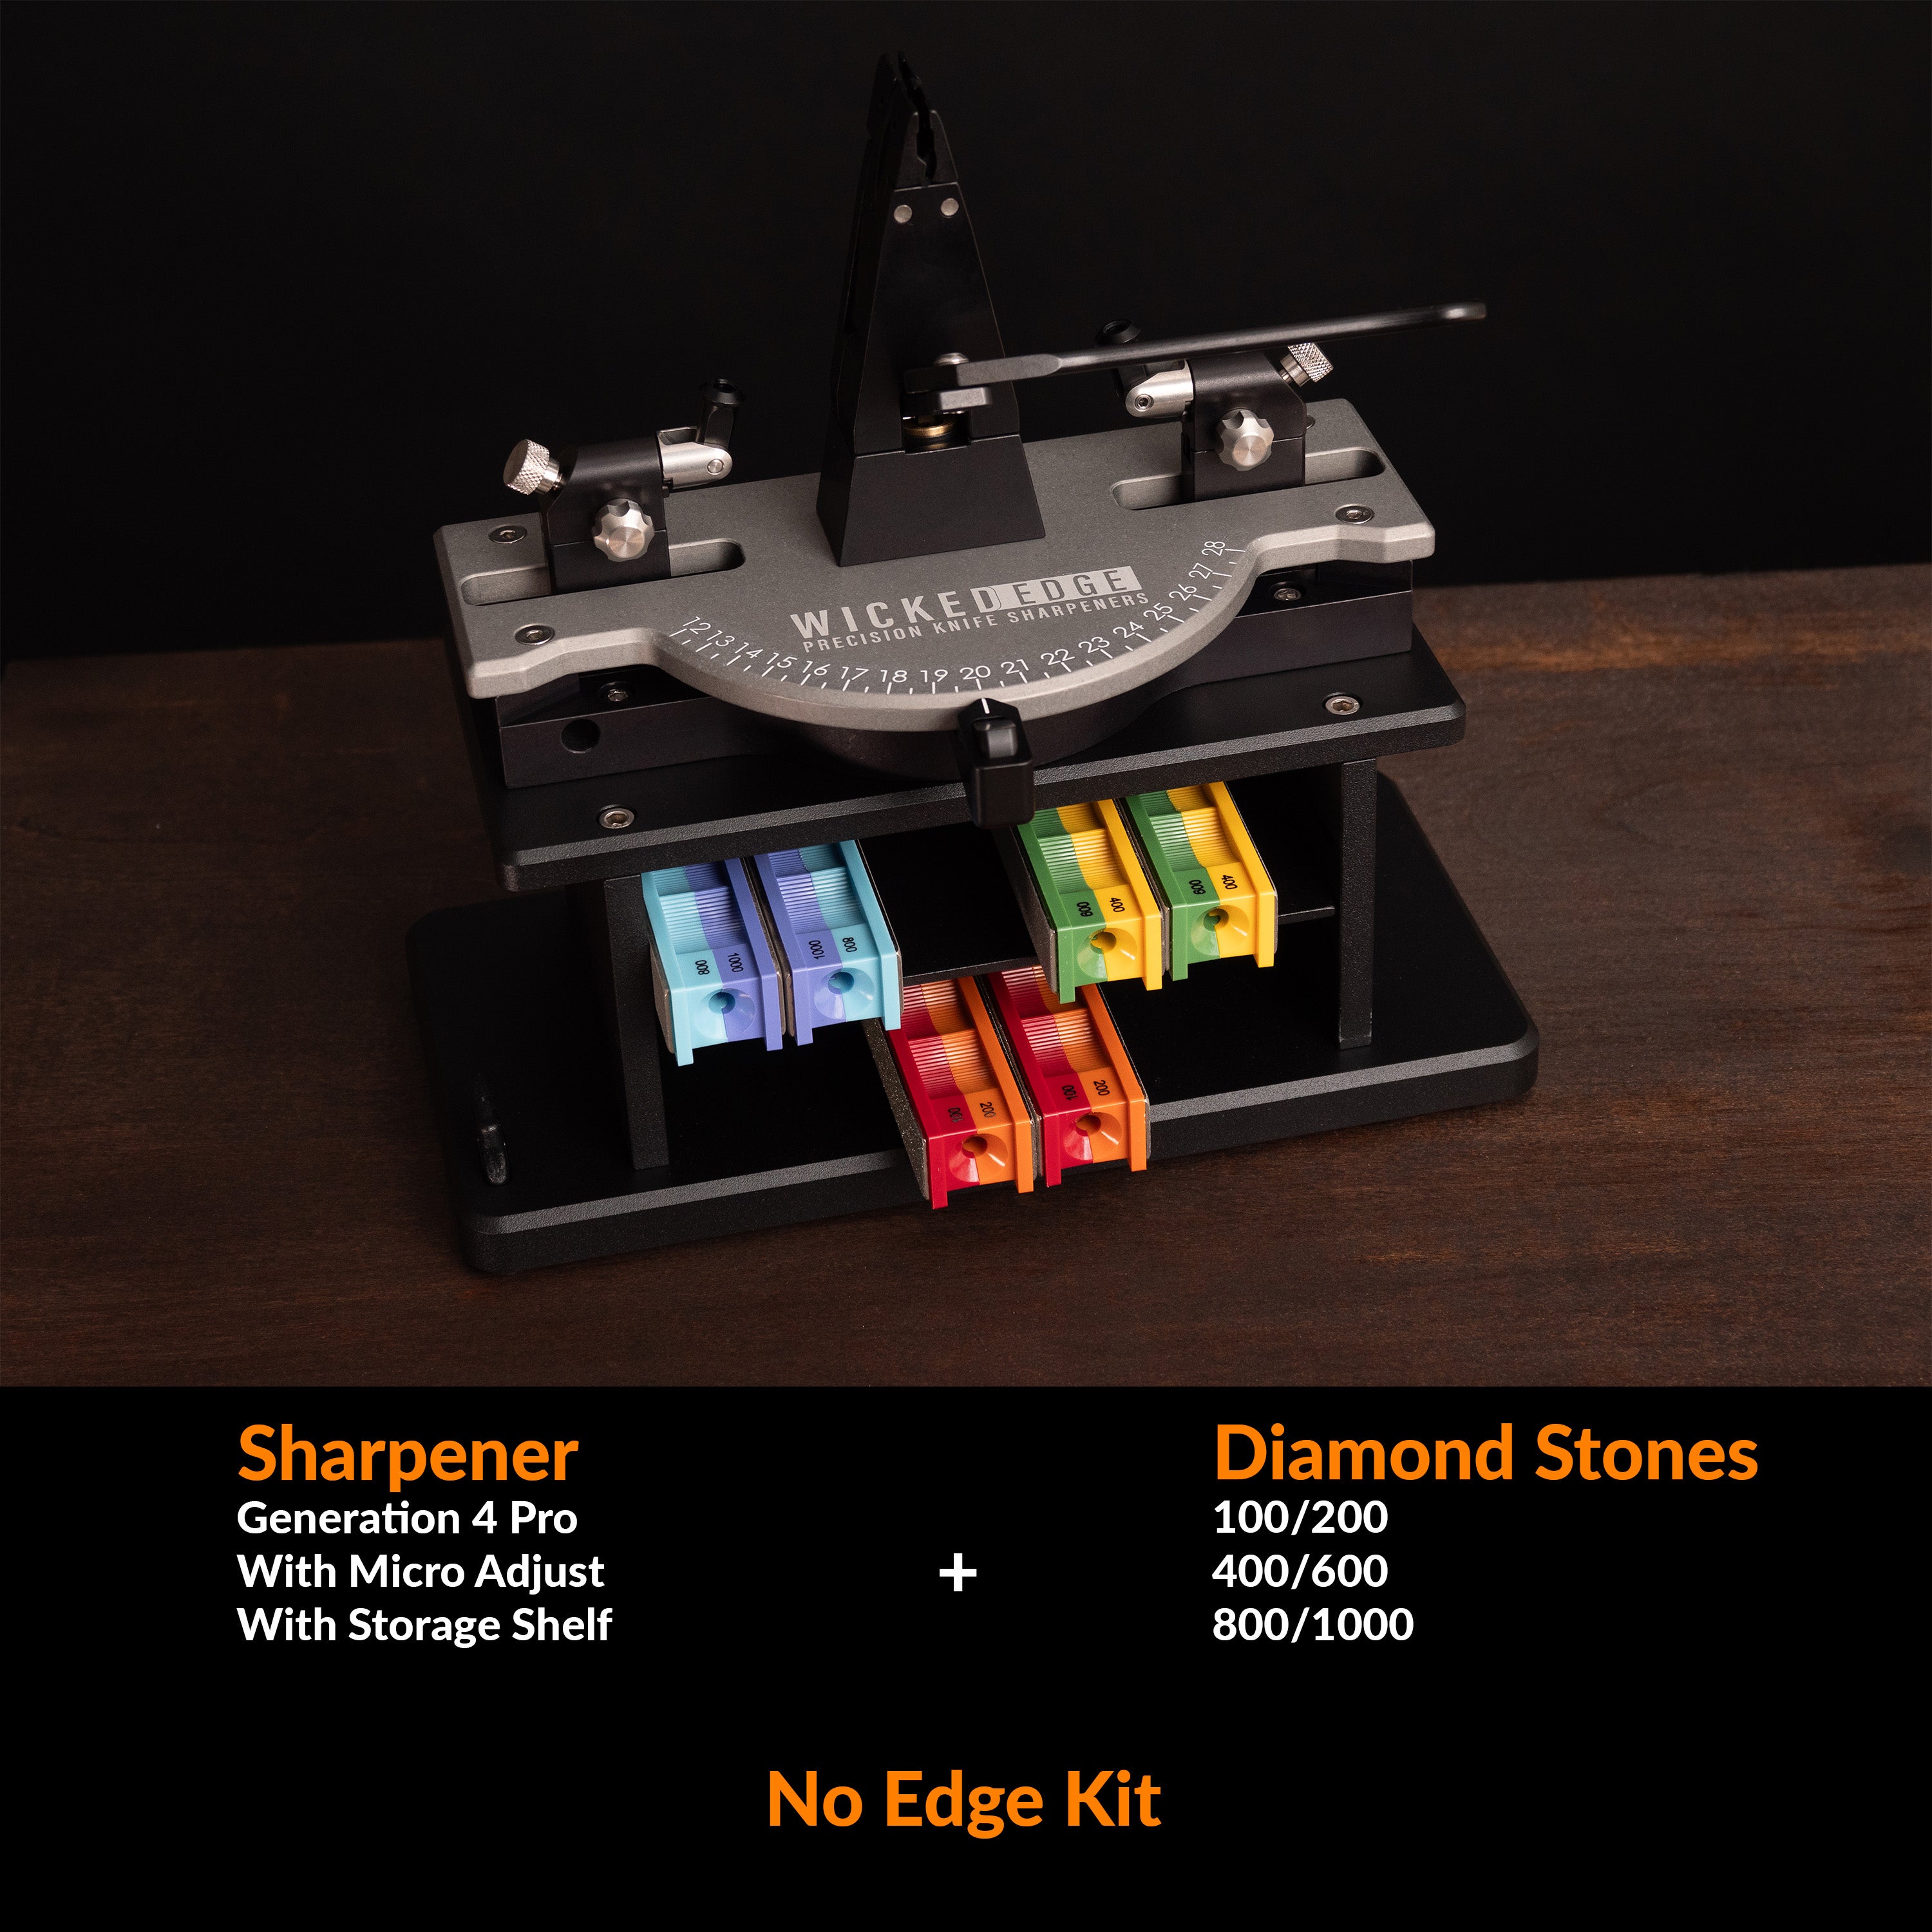
Hands fown best sharpening system out there. The Wicked Edge gives you the SHARPEST edges that you will find and with the measurements on the system, you get the repeatability you want when you want to do quick touch ups on your edge. So, super razor sharp edges, relative ease of use, and the company always seems to be looking to produce new and better upgrades. I would recommend this to anyone out there. P.S. : the 1200/1600 ceramic stones give some really nice mirror polishes
Love the system. Easy to set up and easy to use. There is a brief learning curve after which you will get consistently great edges I highly recommend this system.
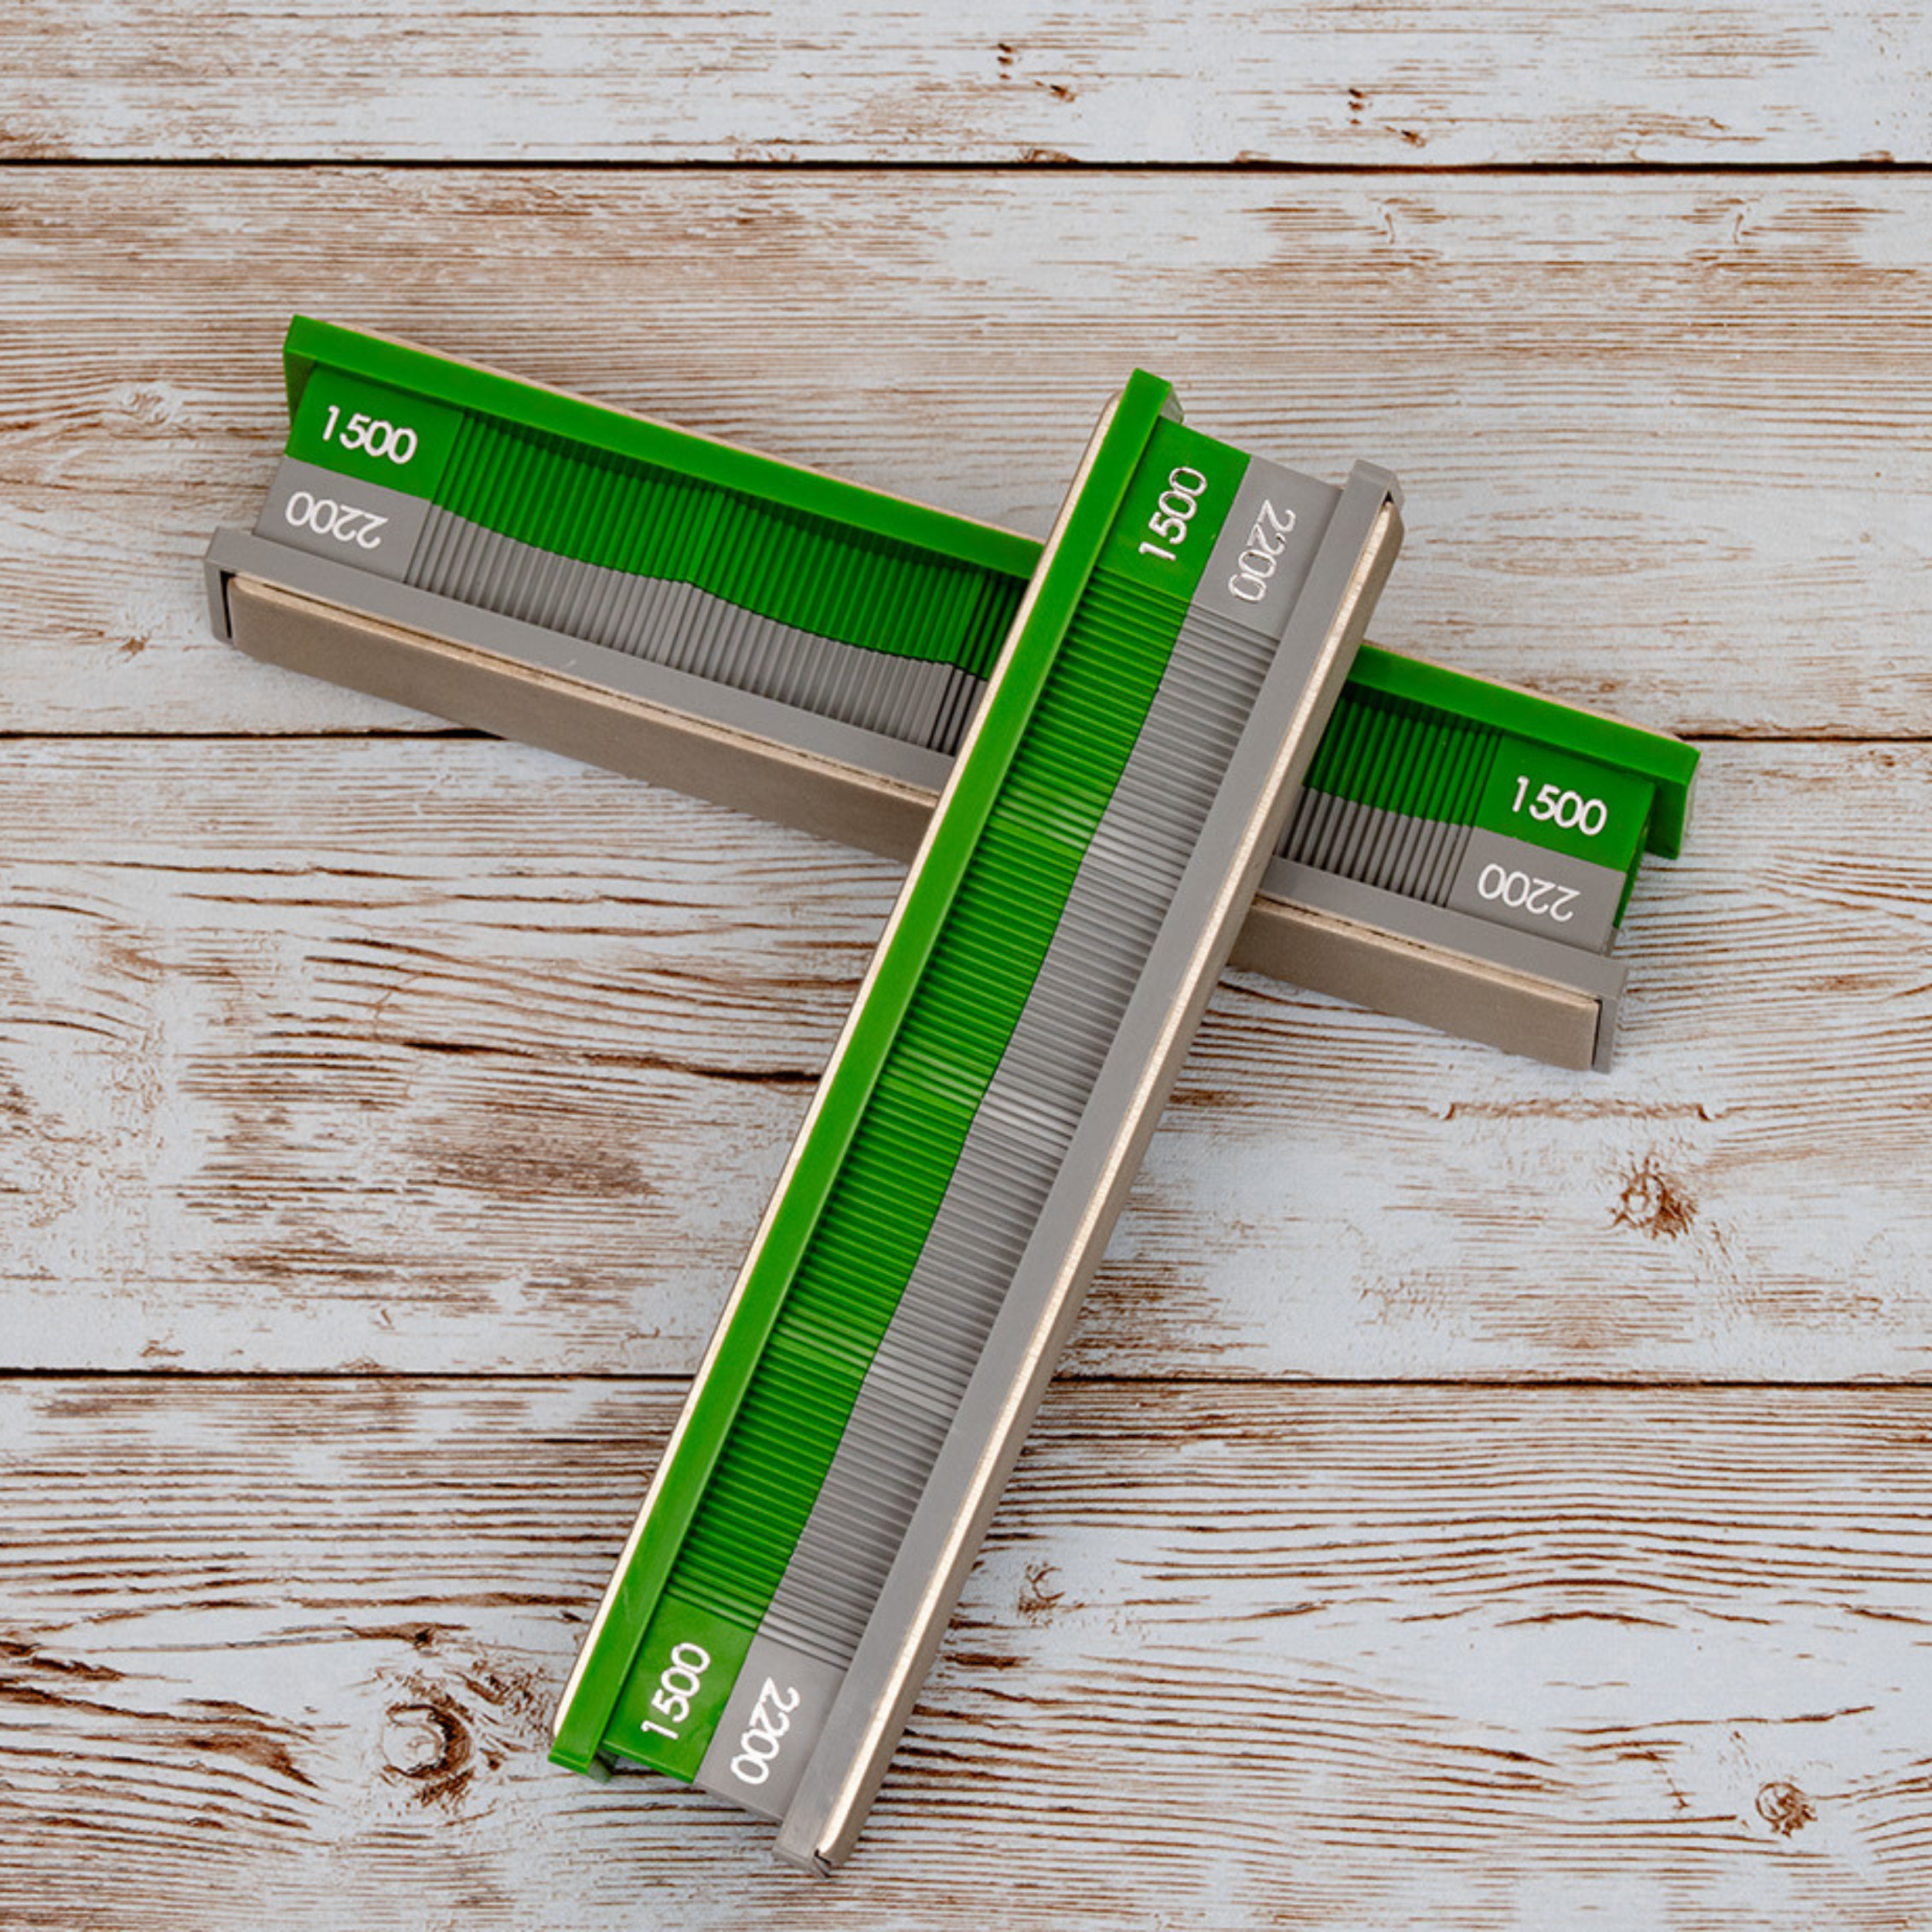
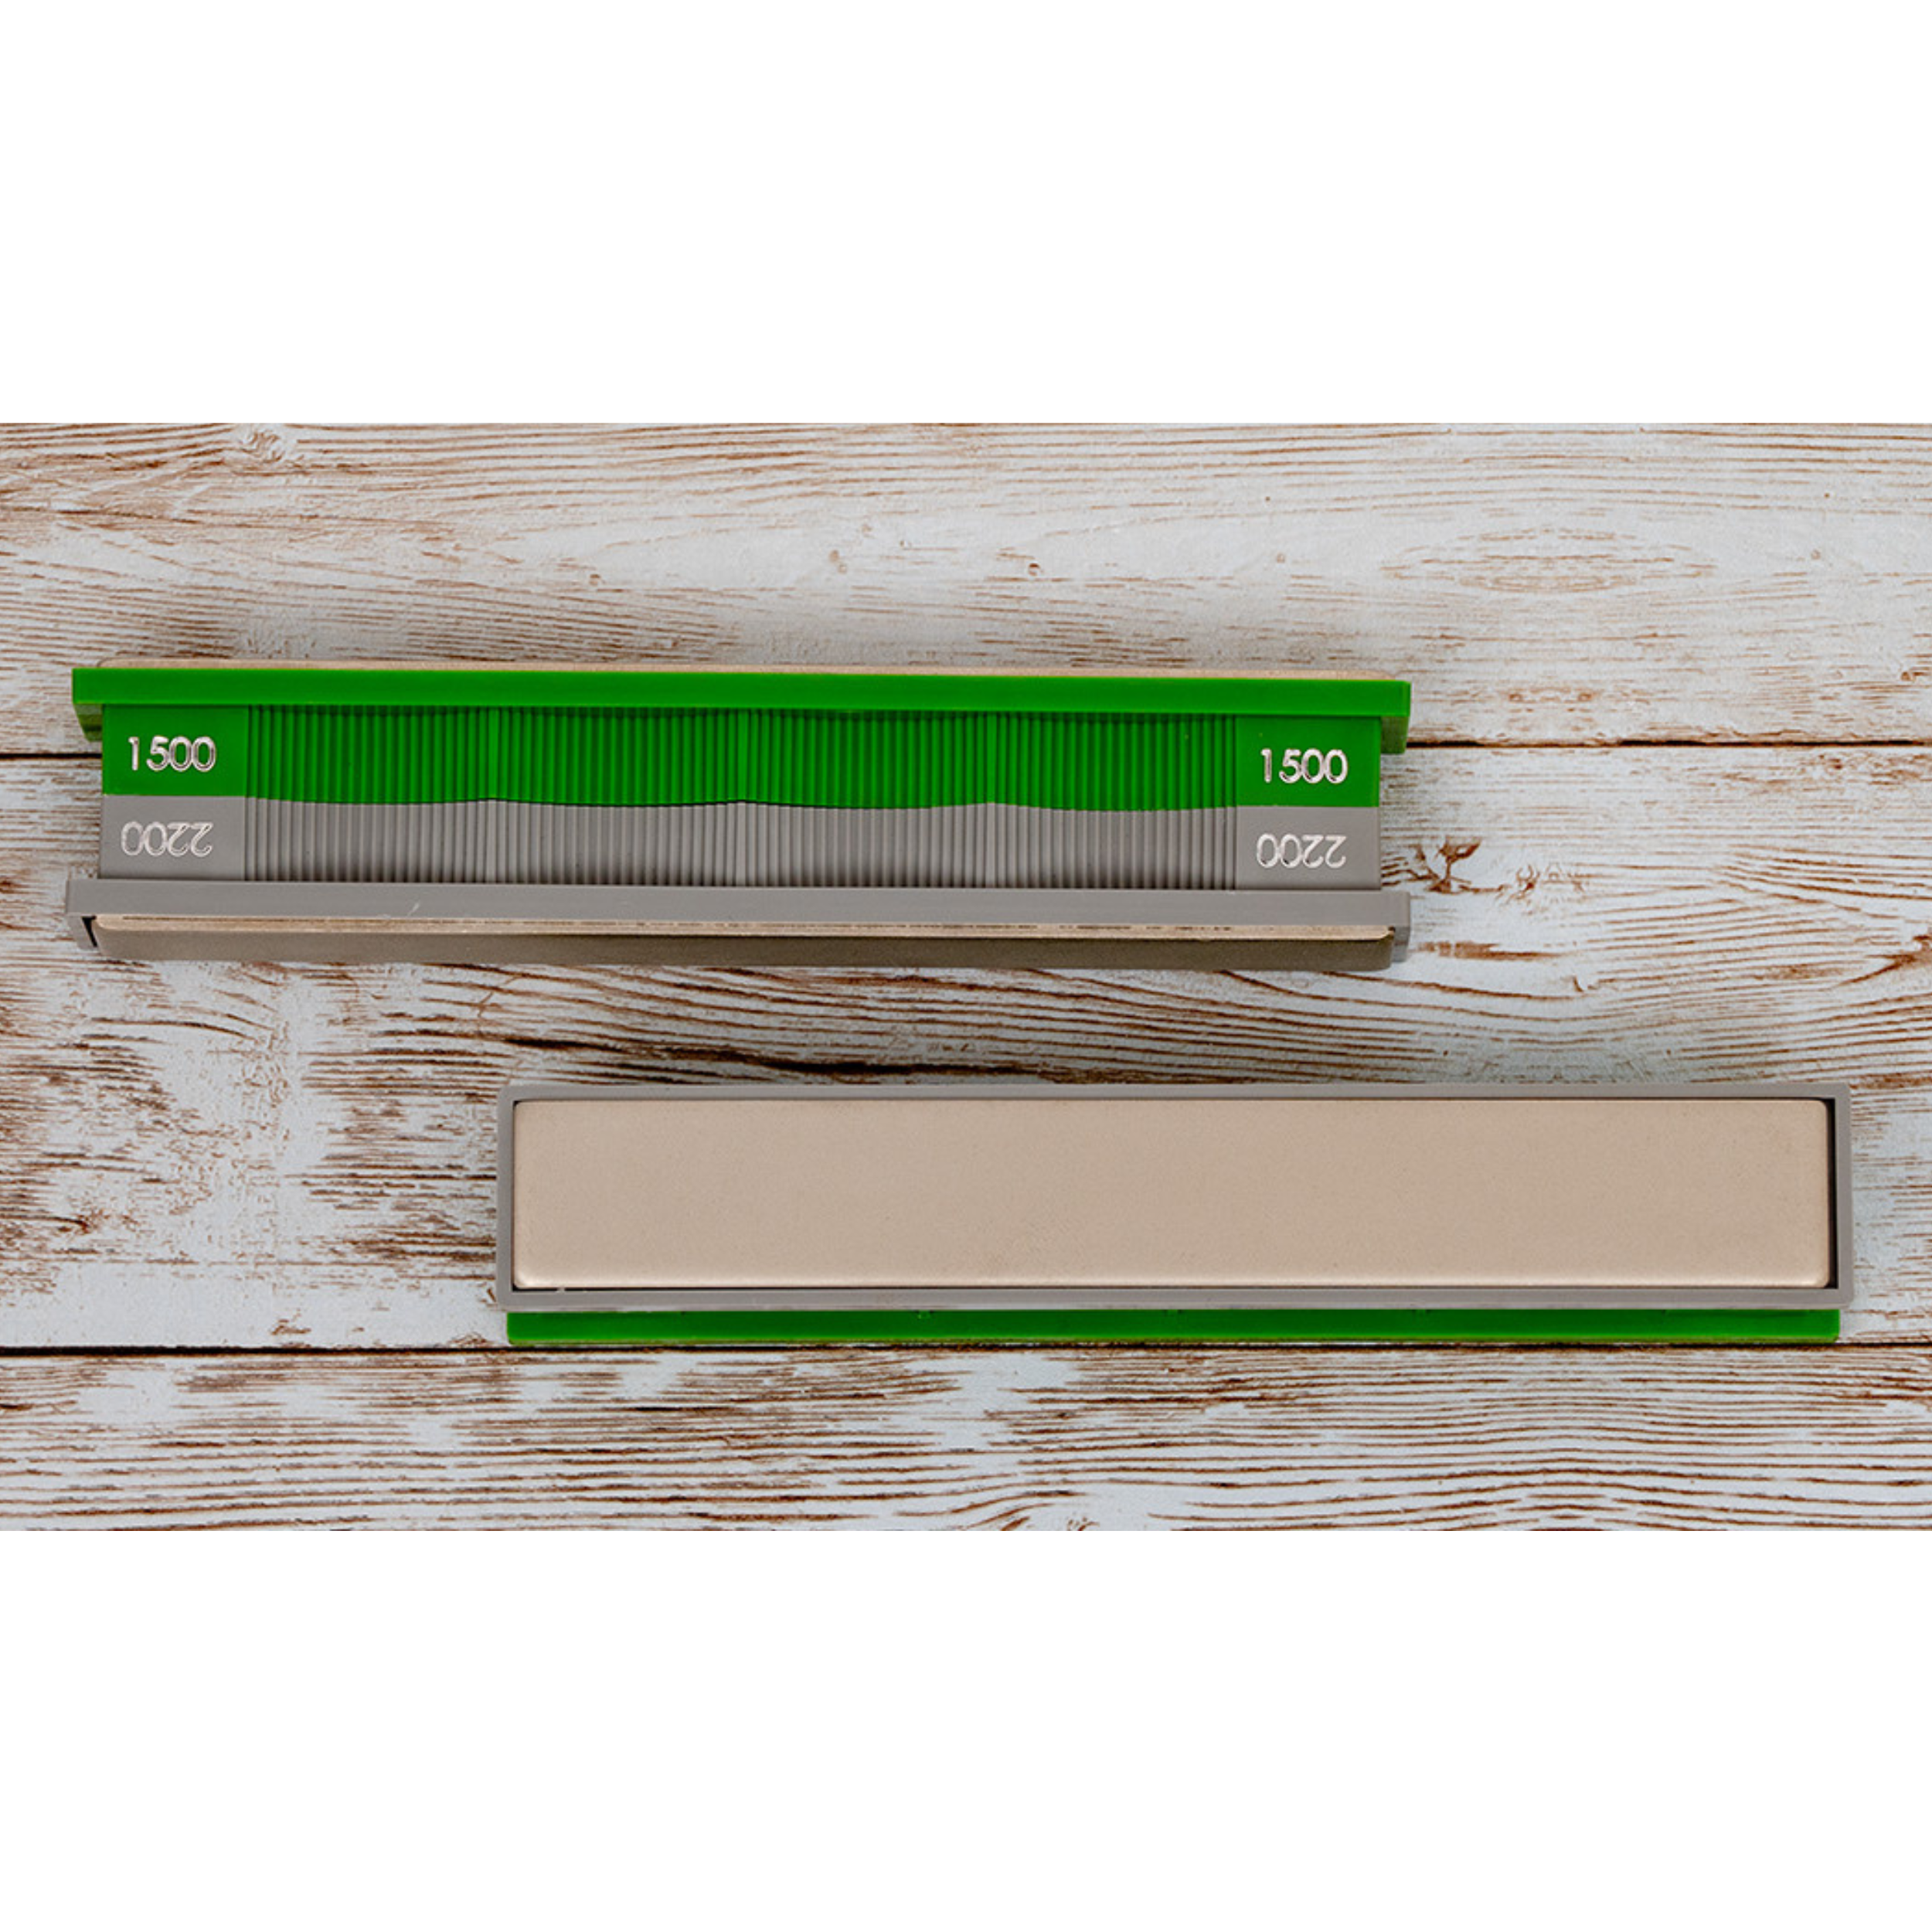
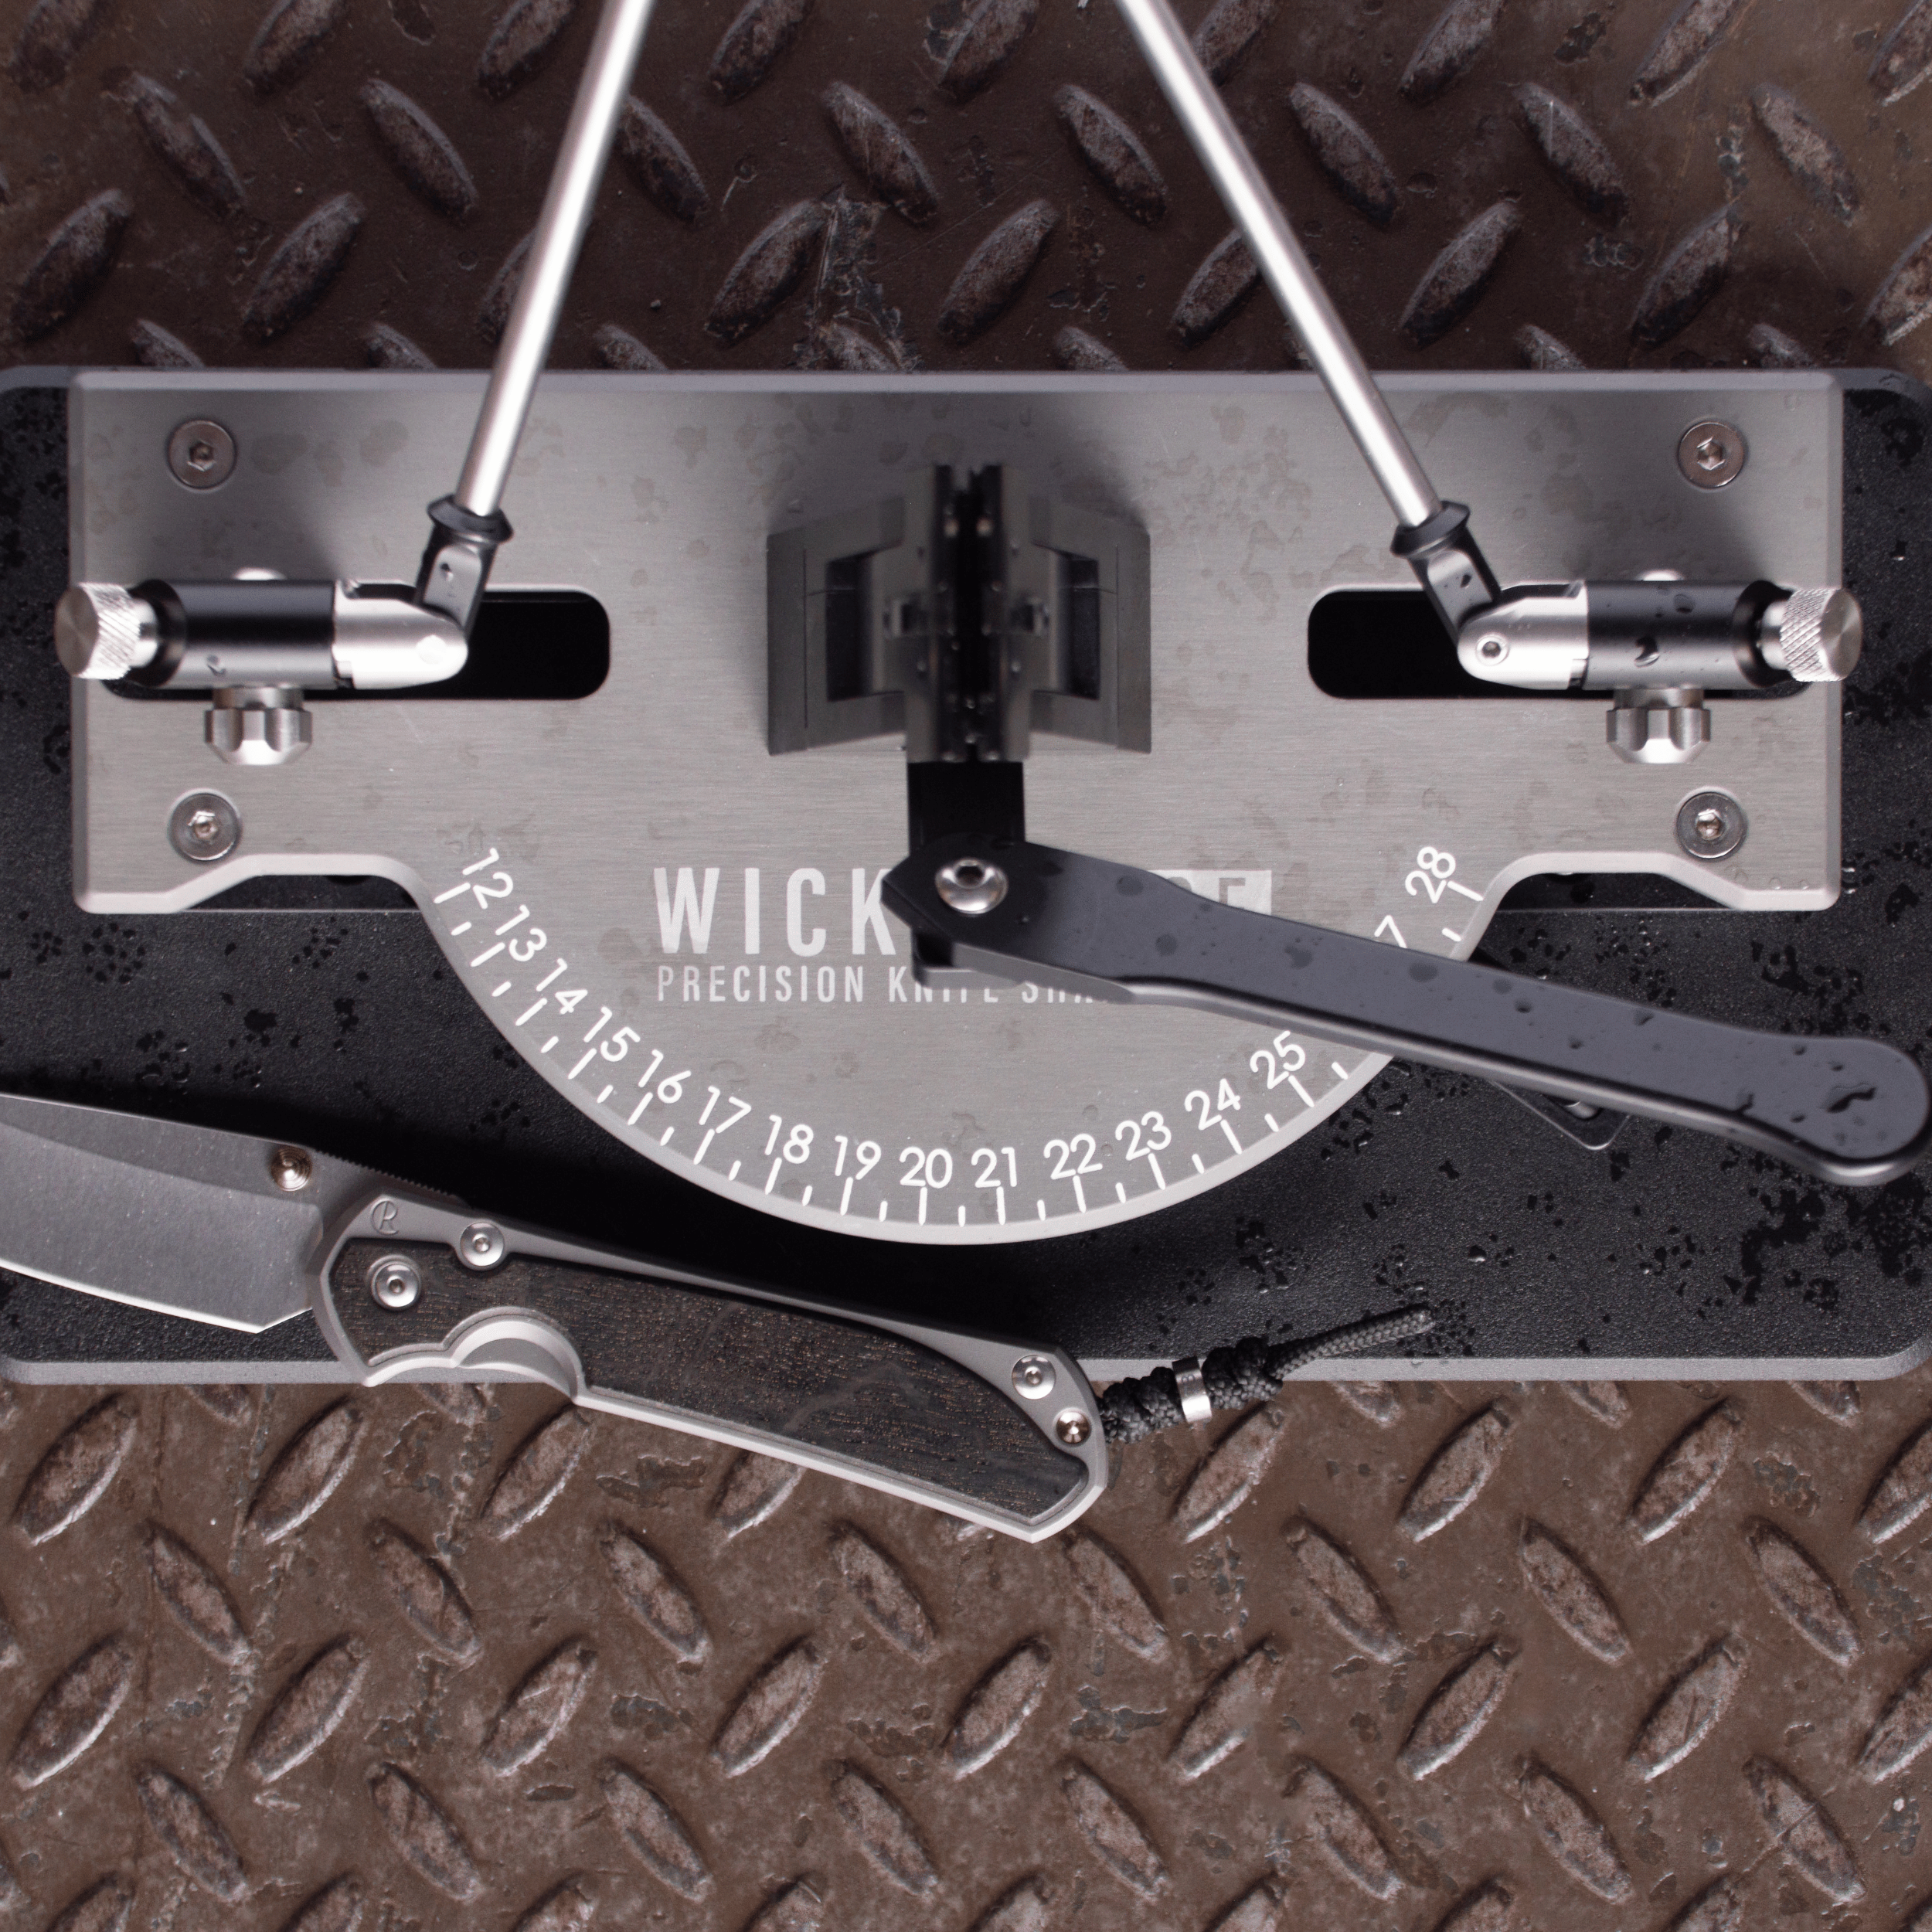
where would i get the "platens" (or the actual stones to fit these blanks) i have looked and cant seem to find them on this site
Fits very nicely, has a great feel to it and the 8lbs of extra weight give my WE60go a higher level of class.
I'm new to knife sharpening but have plenty of kitchen, EDC, and bushcrafting knives.
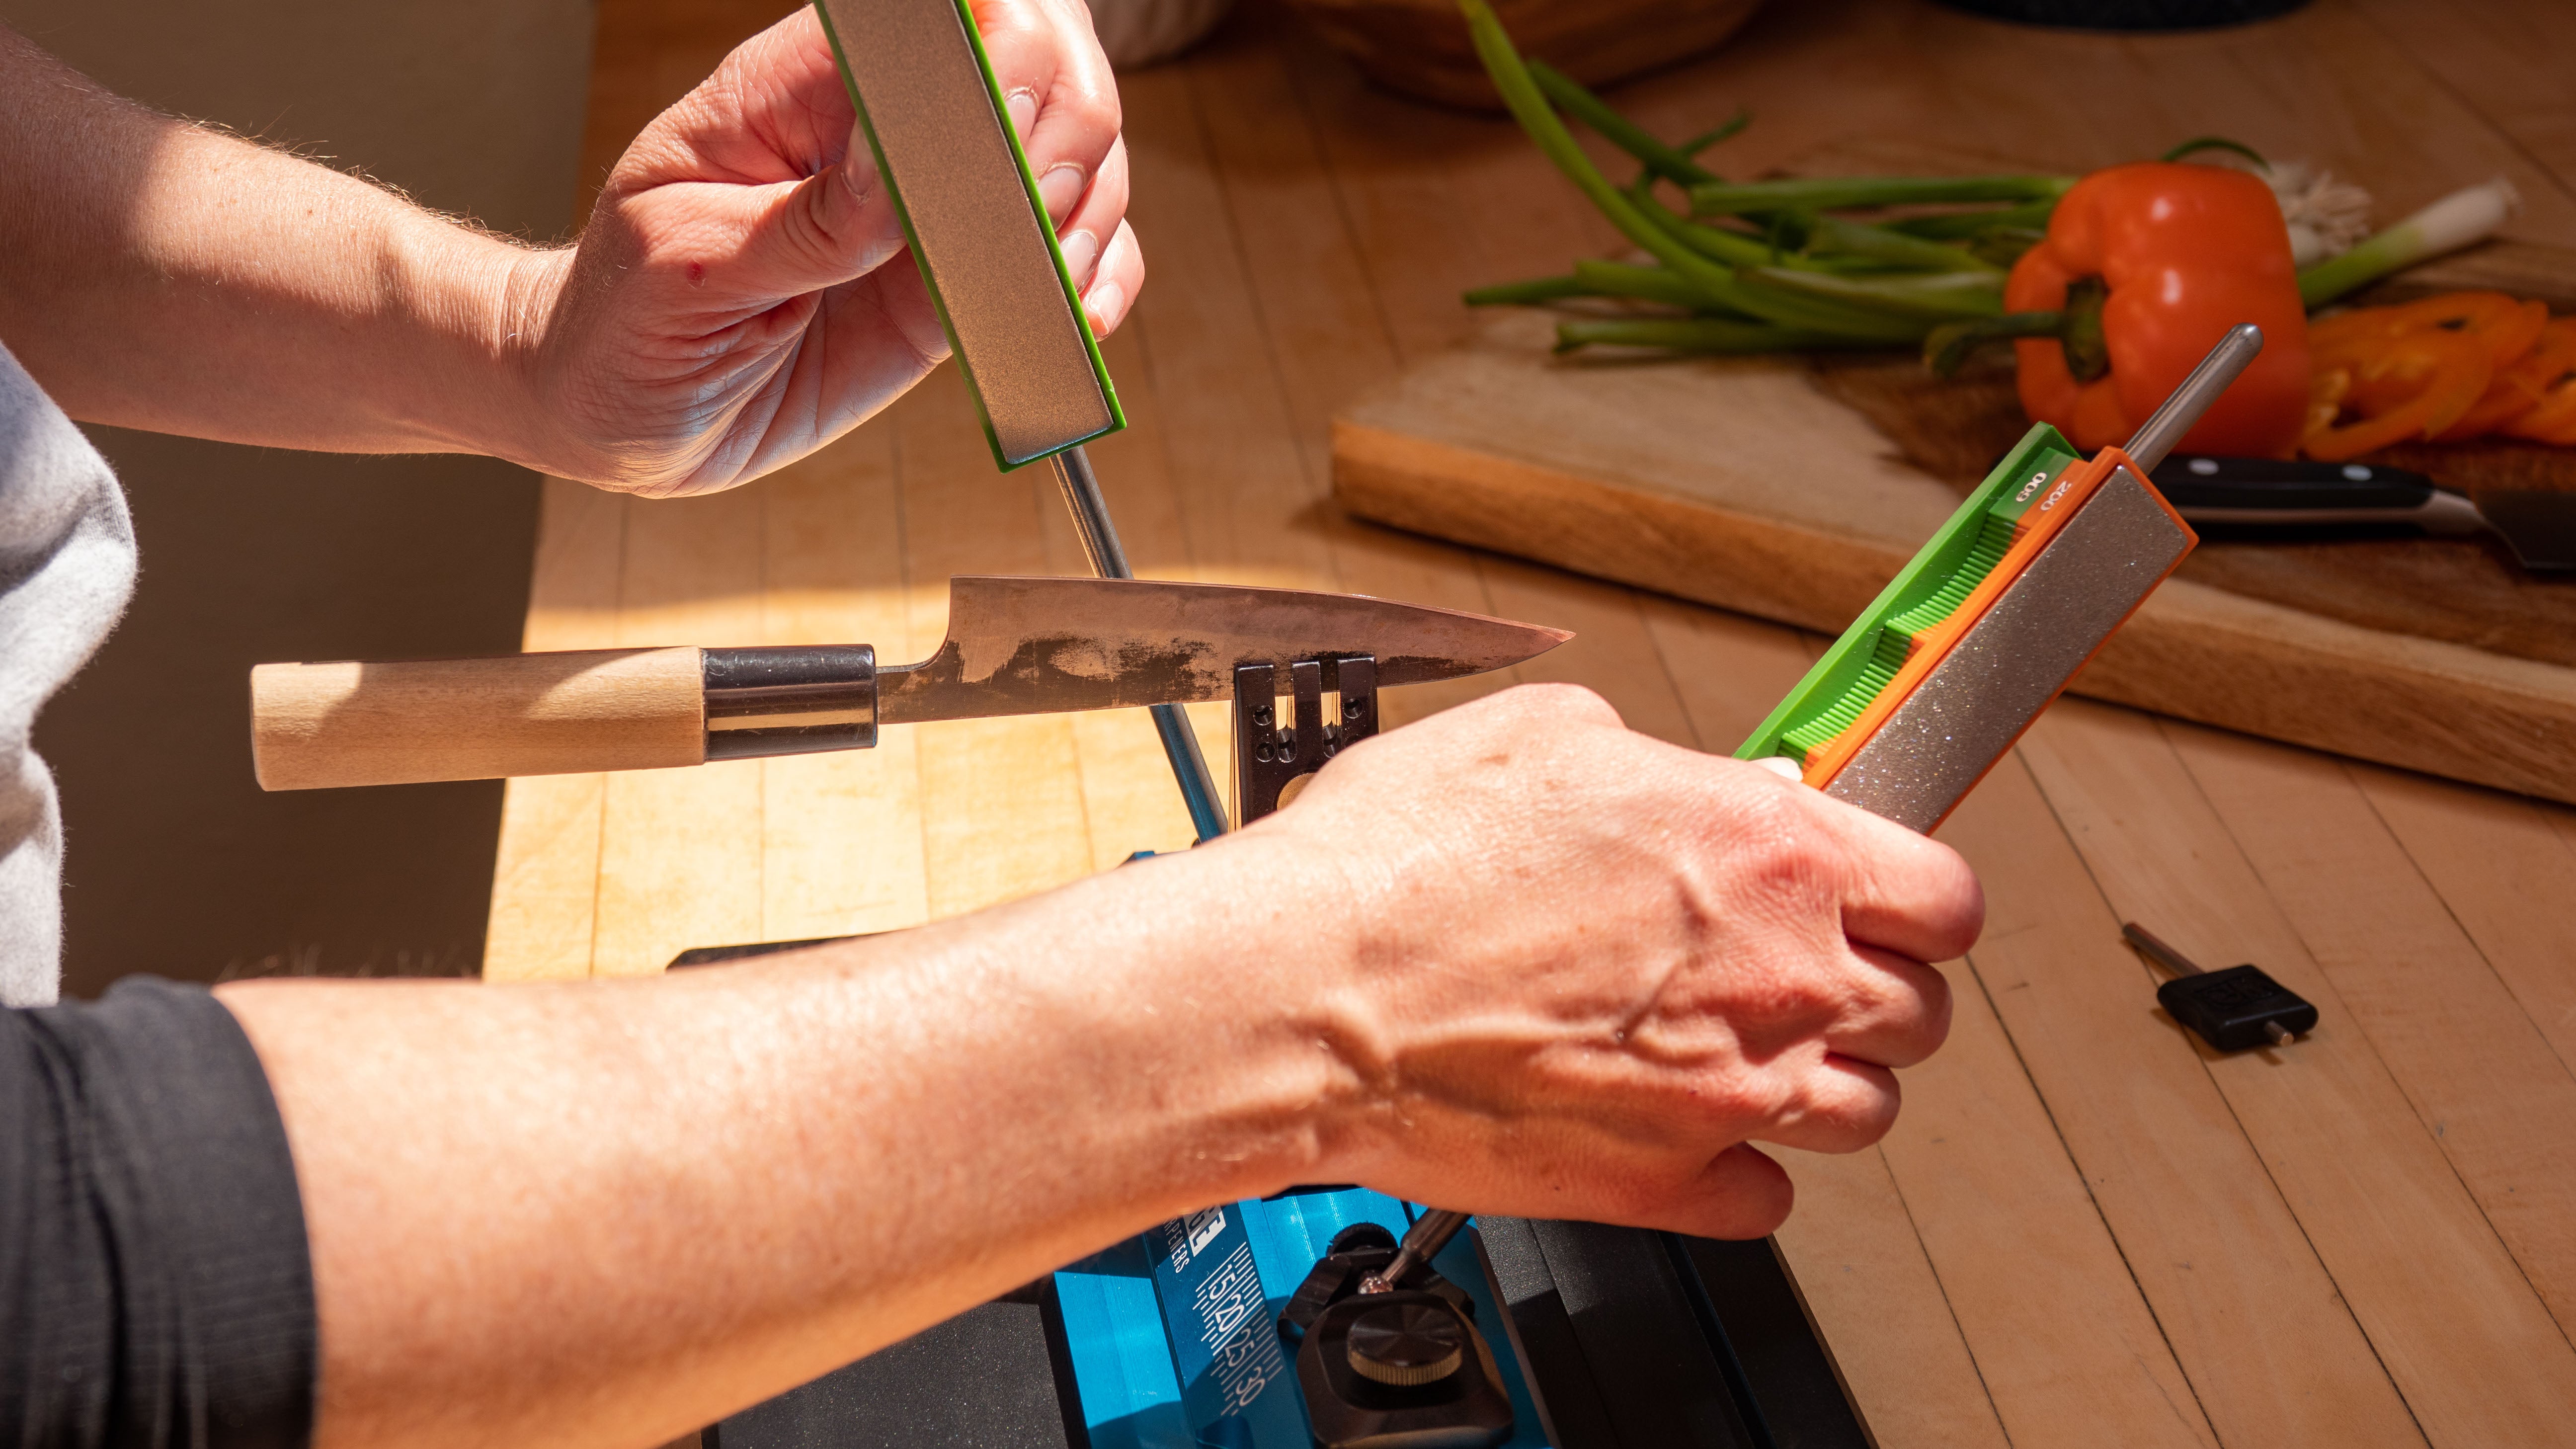
I watched all the instructional videos then got after the practice knife.
Very simple to use and learn.
I've had it less than a day and I've spent most of sharpening my cheaper knives for practice and sharpening all of my kitchen knives.
I'm very happy with the edge and am sure I'll get plenty of use out of it.
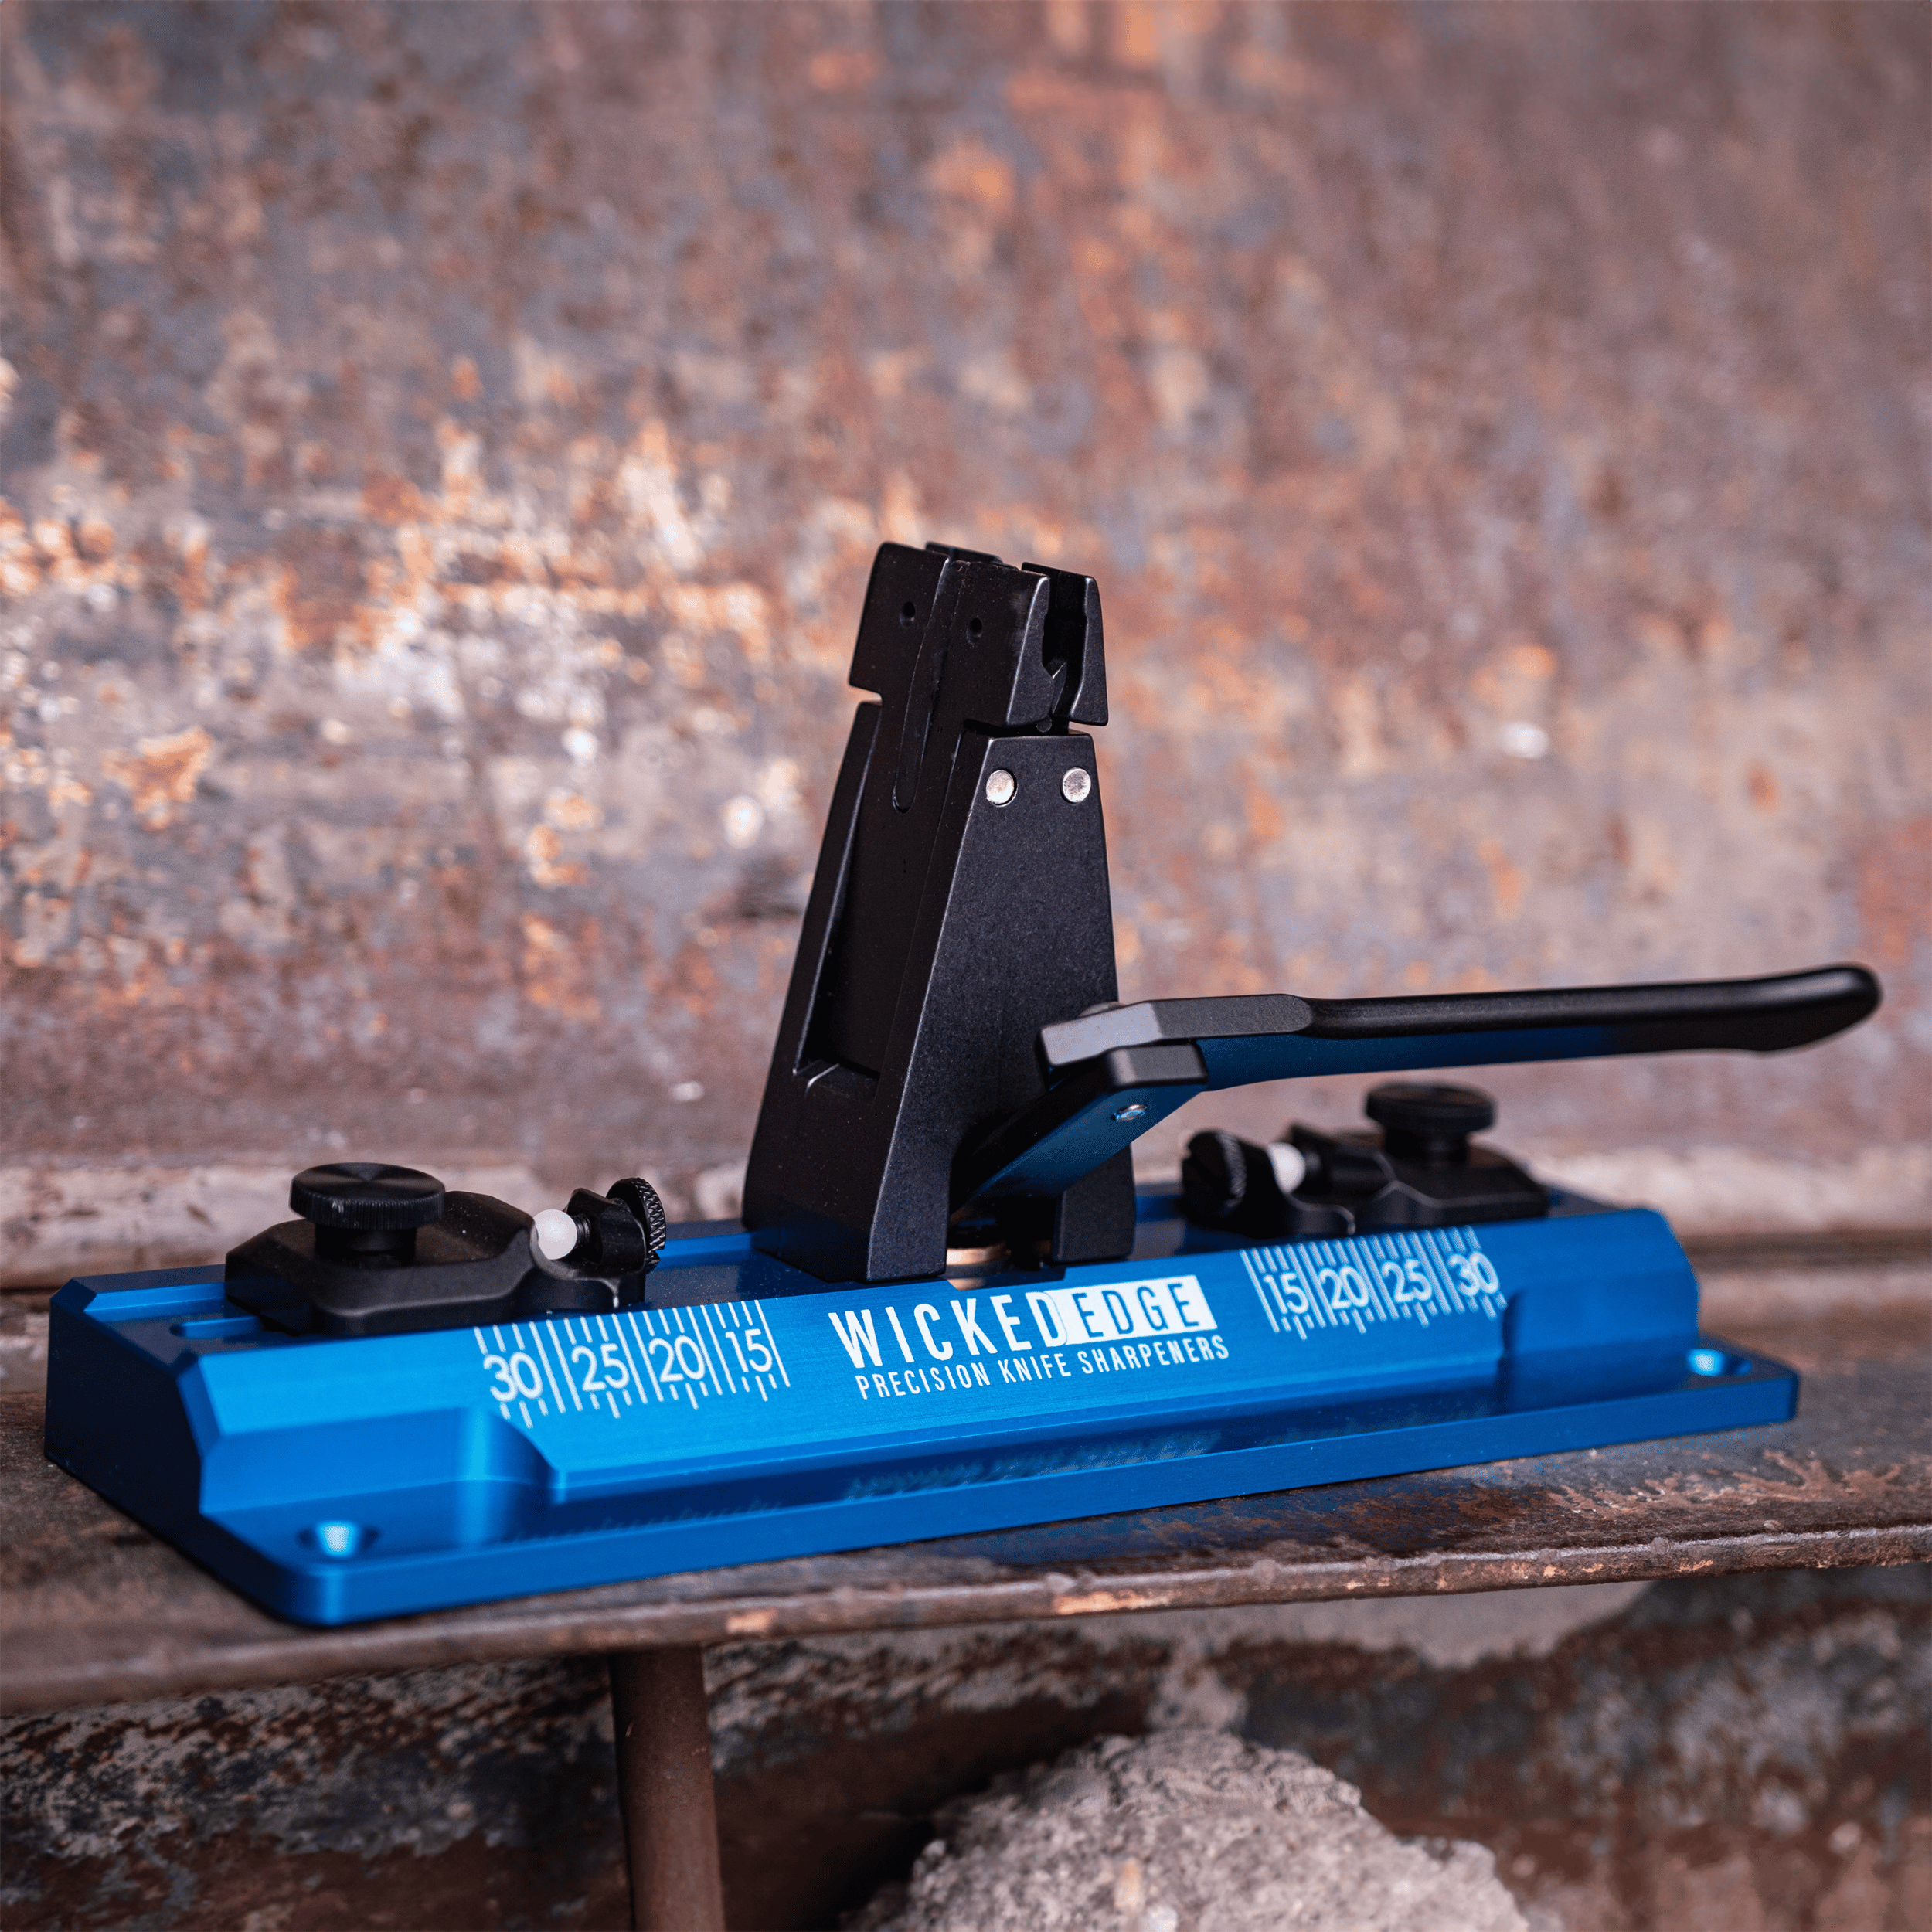
It is seemingly built very well and the technique is intuitive and effective.
Would highly recommend.
They also offered a veterans discount and free shipping with my order.
Couldn't be happier.