How to Use Your Venture Series Knife Sharpener: Step-by-Step Guide
Video Instructions accessible through QR code on all Venture and Venture Pro boxes
Unboxing and Initial Setup
When you first open your Venture sharpener, you’ll notice that the sharpener and knife guide are stored together in a compact position.
The setup process for the WE20 Venture and WE26 Venture Pro models is identical. Begin by taking the unit out of its packaging and getting ready to set it up for sharpening.

Removing the Knife Guide
Next, remove the knife guide from the sharpener. It may be tempting to pull both sides off evenly, but it’s actually much easier to pry one side off first. This small adjustment will help avoid unnecessary force and make the setup smoother.
Aligning the Knife Guide
Inside the knife guide, you’ll find small runners marked by arrows. These arrows should be aligned with the long rails on top of your sharpener. Once lined up, double-check to ensure everything is seated correctly. This alignment process is consistent across all Venture sharpeners. Once confirmed, you’re ready to begin sharpening.

Sharpening Your Knife
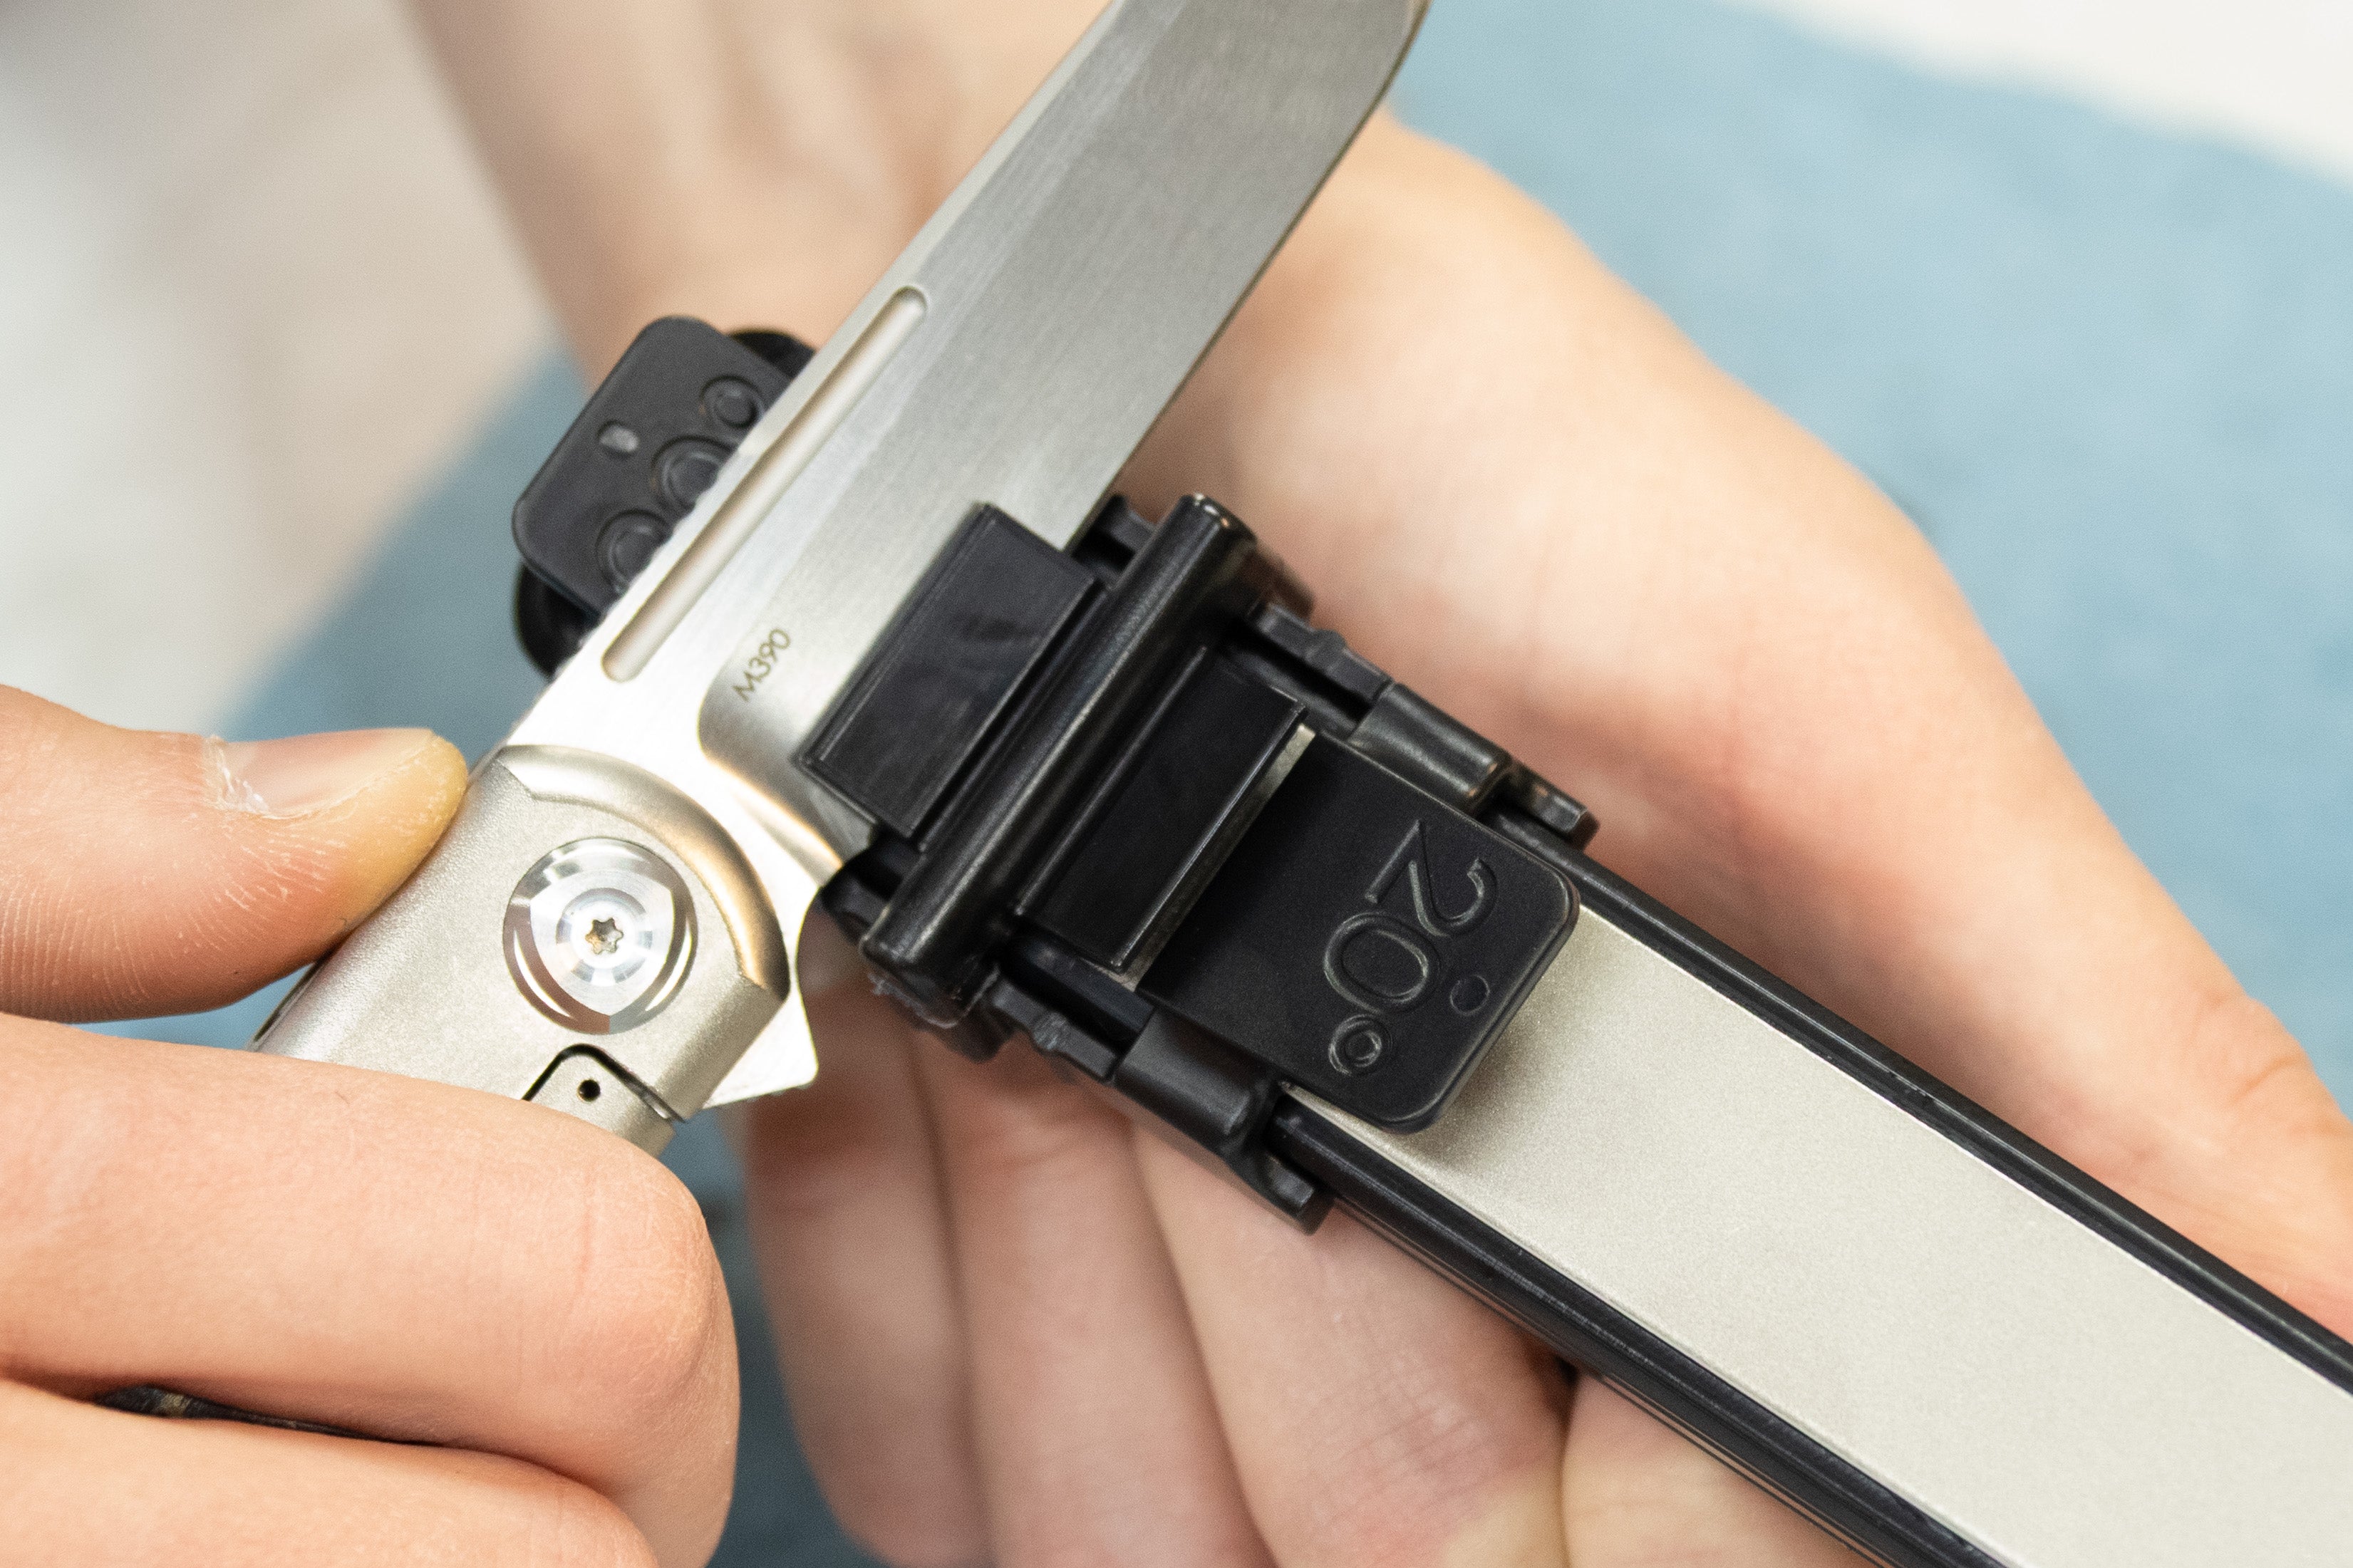
Start by positioning the knife guide in its closest position to you. Place your knife on the guide wings, beginning at the heel (the base of the blade). While sharpening, push and pull through simultaneously, following the belly or curve of the knife rather than moving straight forward and back.
The sharpener comes standard with a 500-grit diamond stone, which is ideal for general resharpening of slightly dull knives. If your knife is very dull, the add-on 100–200 grit diamond stone can be used for reprofiling, essentially resetting the edge from scratch.
Once sharpening is complete, it’s time to hone the blade for a refined edge. To do this, remove the knife guide, flip the stone to the honing side, and ensure it clicks securely into its grooves before reattaching the knife guide.
For Venture Pro users, there’s a simpler method: you can flip the stone directly without removing the guide—just make sure the knife guide isn’t in the stored position when flipping to avoid damage.
After honing, the blade will have a clean, sharp edge ready for stropping.


Preparing the Strop
At the bottom of every Venture sharpener is a built-in leather strop, available on both models. The strop has compound pre-applied and is ready for use.

Stropping
To use the strop, line your knife up with the angled sides and pull away from the leather surface—never push toward it, as that could cut into the strop. Your strop already comes pre-treated with compound, so no additional preparation is required.
Final Sharpening Tips
The amount of time you spend sharpening depends on the knife’s dullness. Sharpening with the 100–200 grit stone will restore an edge more quickly, while the 500-grit stone may take longer but provides a smoother finish.
If you’re unsure of your knife’s angle, try the Sharpie trick:
- Color the bevel of your knife with a Sharpie marker.
- Run it through the sharpener at a 20° angle.
-
Observe which areas of the marker are removed — this helps confirm your knife’s actual angle and whether you’re maintaining flat contact during each stroke.

After making any necessary angle adjustments, finish sharpening and strop the knife once more for best results.
To test sharpness, lightly press a soft plastic object (like a pen or marker) against the edge and pull away.
If it sticks, the edge is sharp.
If it slides off, continue sharpening a bit more.
If you are still unsure what angle your blade needs you can refer to this guide for quick tips and recommendations.
By following these steps, you’ll have a perfectly sharpened and polished knife using your Venture Series sharpener—whether it’s the Venture or Venture Pro model.


